Follow these steps in Windows 10
- Open your standard Windows 10 mail program.
- If this is the first account that you create, click on “+ Add Account” in the welcome window.
- If you already have other accounts and the welcome screen is not displayed, click on the gear at the bottom left. The “Settings” menu will appear from the right. Now click on “Manage Accounts” and you will see the “+ Add account” button.
- Select the “Advanced setup” option from the list.
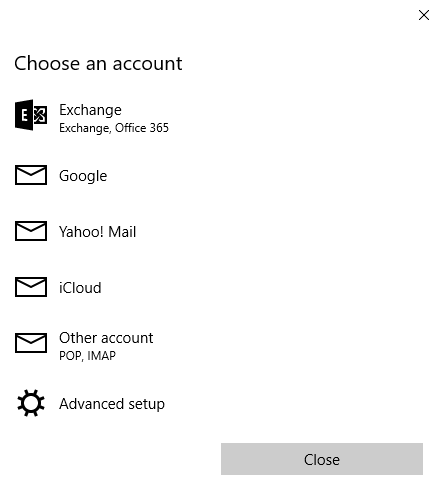
- Then choose “Internet email”.
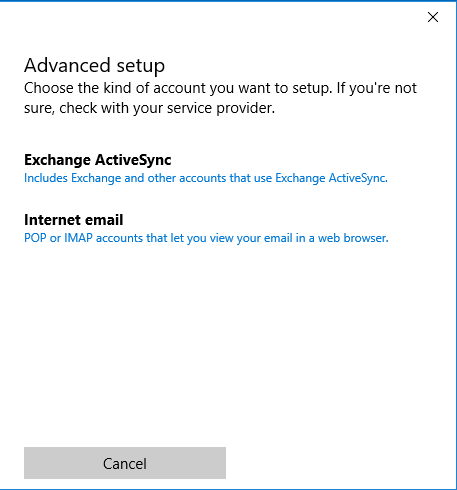
- The “Account name” is the name that you can give to this mailbox. Choose something with a clear meaning, such as work or private life.
- What you enter in “Your name” will be shown to the people to whom you send your mail.
- The “Incoming email server” is:
- For IMAP: mail.atmoshosting.com
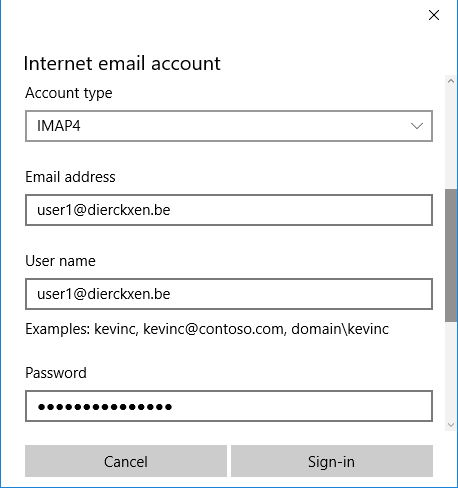
- Select the corresponding option for “Account type”:
- When you use IMAP: IMAP
- Enter your full e-mail address at “Email address”.
- At “User name” you enter your full e-mail address again.
- Enter your password.
- At “Outgoing (SMTP) email server” you enter: mail.atmoshosting.com
- Check that all options are checked at the bottom:
- Outgoing server requires authentication
- Use the same user name and password for sending email
- Require SSL for incoming email
- Require SSL for outgoing email
- Click on Sign-in


- You are done. Wait a while for your e-mail settings to synchronize.
